Hello!!!!! I am so shy about my post today! For the
Joy's Life DT we are supposed to share a tip or technique with our project... Well... I am not the best at giving tutorials/tips... I find that a little sad, seeing that I am a teacher!!!! I also couldn't think of what I could possibly give a tip about, but then it clicked... Fuzzy Fun Flock! I'm going to show you how I use this awesome stuff... Okay... here it goes...
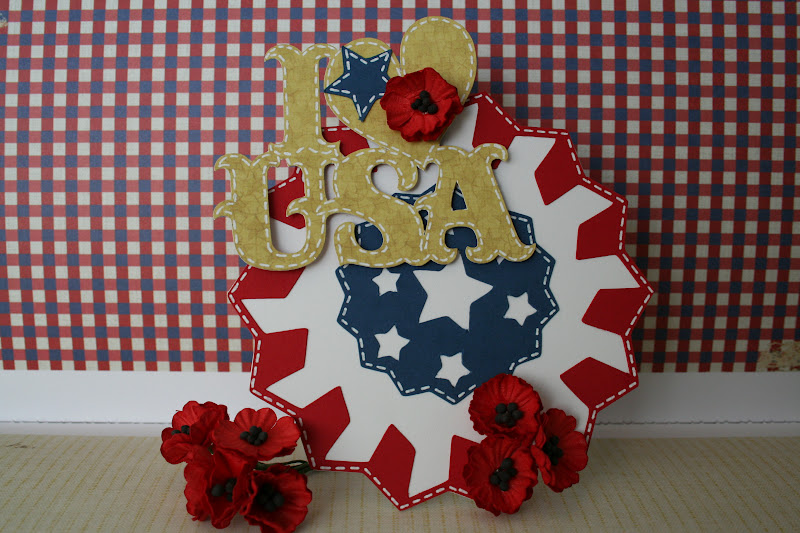
Tags, Bags, Boxes & More- tag cut at 4.06"
Winter Frolic- snowman cut at 3.24"
Hoot 'n' Holler- heart cut at 1.24"
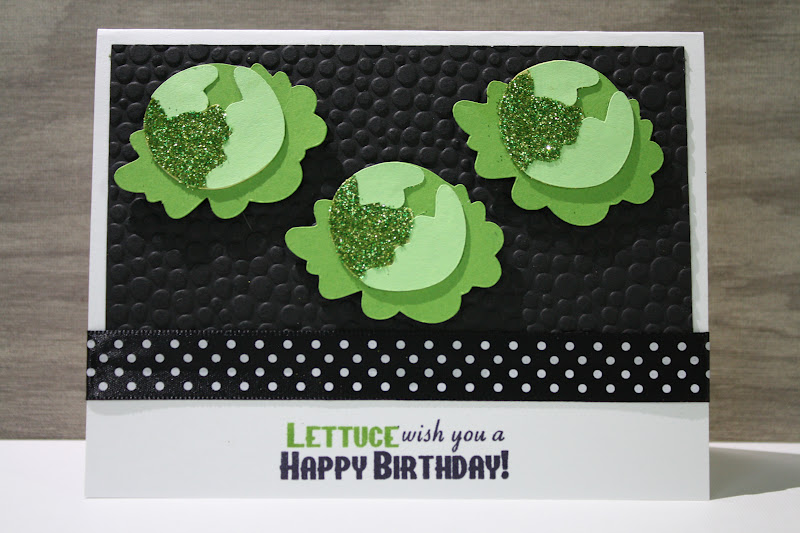
Joy's Life Stamps- Oh Christmas Puns
Fuzzy Fun Flock- envious green & chili pepper red
Okay, here's my "tip"...
These are the supplies you'll need to make something "fuzzy" (a.k.a. super adorable). I use my Xyron sticker maker, with permanent adhesive.
You'll want to choose a cardstock color that is similar to the color of the Fuzzy Fun Flock you want to use. White cardstock with a colored flock just doesn't look as nice... I'll show you an example in a bit....
Run the pieces that you want to flock through the sticker maker, upside down. Once that is done, I make sure to rub the back of the pieces with something hard (I used the fun flock bottle) to make sure that all of the adhesive is sticking to the other side.
Peel the pieces off of the adhesive paper and just "dump" on the fun flock (like my technical term there?!?). Then I rub the entire piece with my finger to make sure the flock is sticking to the image and is completely covering all of the adhesive. Then you just tap off the excess (just like using glitter). VOILA! You're done, you have made something fuzzy! Just use the pieces on your project any way you want!!!!
This is an example of why you want to use a colored cardstock, not white. The left was done with white cardstock, and the right was done with the red cardstock. To me, it just looks so much better with the colored cardstock... :)
That's all there is to it! I hope you found that somewhat helpful... Thanks for stopping by!!! :)